ASP.NET Core - Razor 编辑表单
在本章中,我们将继续讨论标签助手。 我们还将在我们的应用程序中添加一项新功能,并使其能够编辑现有员工的详细信息。 我们将首先在每个员工的一侧添加一个链接,该链接将转到 HomeController 上的编辑操作。
@model HomePageViewModel
@{
ViewBag.Title = "Home";
}
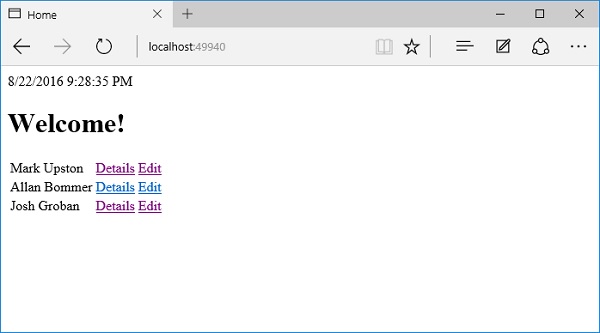
<h1>Welcome!</h1>
<table>
@foreach (var employee in Model.Employees) {
<tr>
<td>@employee.Name</td>
<td>
<a asp-controller = "Home" asp-action = "Details"
asp-routeid = "@employee.Id">Details</a>
<a asp-controller = "Home" asp-action = "Edit"
asp-routeid = "@employee.Id">Edit</a>
</td>
</tr>
}
</table>
我们还没有编辑操作,但我们需要一个可以编辑的员工 ID。 因此,让我们首先通过右键单击 Views →Home 文件夹并选择 Add → New Items 创建一个新视图。
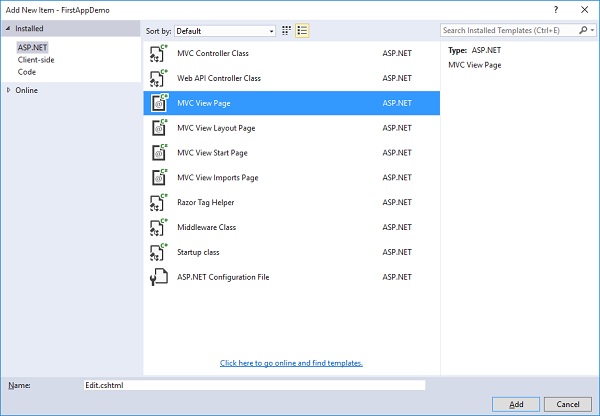
在中间窗格中,选择 MVC 视图页面; 调用页面 Edit.cshtml。 现在,点击 Add 添加按钮。
在 Edit.cshtml 文件中添加以下代码。
@model Employee
@{
   ViewBag.Title = $"Edit {Model.Name}";
}
<h1>Edit @Model.Name</h1>

<form asp-action="Edit" method="post">
   <div>
      <label asp-for = "Name"></label>
      <input asp-for = "Name" />
      <span asp-validation-for = "Name"></span>
   </div>

   <div>
      <input type = "submit" value = "Save" />
   </div>
</form>
对于这个页面的标题,我们可以说我们要编辑,然后提供员工姓名。
Edit 前面的美元符号将允许运行时将 Model.Name 替换为该属性中的值,例如员工姓名。
在表单标签内,我们可以使用像 asp-action 和 asp-controller 这样的标签助手。 这样当用户提交此表单时,它会直接转到特定的控制器操作。
在这种情况下,我们想转到同一控制器上的编辑操作,并且我们想明确说明对于此表单上的方法,它应该使用 HttpPost。
表单的默认方法是 GET,我们不希望使用 GET 操作来编辑员工。
在 label 标签中,我们使用了 asp-for 标签助手,它表示这是模型的 Name 属性的标签。 这个标签助手可以设置 Html.For 属性以获得正确的值并设置这个标签的内部文本,以便它实际显示我们想要的内容,比如员工姓名。
让我们转到 HomeController 类并添加 Edit 操作,该操作返回为用户提供表单以编辑员工的视图,然后我们将需要第二个 Edit 操作来响应 HttpPost 如下所示。
[HttpGet]
public IActionResult Edit(int id) {
   var context = new FirstAppDemoDbContext();
   SQLEmployeeData sqlData = new SQLEmployeeData(context);
   var model = sqlData.Get(id);

   if (model == null) {
      return RedirectToAction("Index");
   }
   return View(model);
}
首先,我们需要一个响应 GET 请求的编辑操作。 它需要一个员工 ID。 此处的代码类似于我们在 Details 操作中的代码。我们将首先提取用户要编辑的员工的数据。 我们还需要确保该员工确实存在。 如果不存在,我们会将用户重定向回索引视图。 但是当员工存在时,我们将渲染 Edit 视图。
我们还需要对表单将发送的 HttpPost 做出响应。
让我们在 HomeController.cs 文件中添加一个新类,如以下程序所示。
public class EmployeeEditViewModel {
   [Required, MaxLength(80)]
   public string Name { get; set; }
}
在将响应 HttpPost 的编辑操作中,将采用 EmployeeEditViewModel,而不是员工本身,因为我们只想捕获 Edit.cshtml 文件中表单中的项目。
以下是 Edit 编辑动作的实现。
[HttpPost]
public IActionResult Edit(int id, EmployeeEditViewModel input) {
   var context = new FirstAppDemoDbContext();
   SQLEmployeeData sqlData = new SQLEmployeeData(context);
   var employee = sqlData.Get(id);

   if (employee != null && ModelState.IsValid) {
      employee.Name = input.Name;
      context.SaveChanges();
      return RedirectToAction("Details", new { id = employee.Id });
   }
   return View(employee);
}
根据我们的路由规则,编辑表单应始终从在 URL 中具有 ID 的 URL 传送,例如 /home/edit/1。
表单总是回发到同一个 URL,/home/edit/1。
MVC 框架将能够从 URL 中提取该 ID 并将其作为参数传递。
在数据库中执行更新操作之前,我们始终需要检查 ModelState 是否有效,并确保该员工在数据库中并且不为空。
如果这些都不是真的,我们将返回一个视图并允许用户重试。 尽管在具有并发用户的真实应用程序中,如果员工为空,则可能是因为员工详细信息被某人删除了。
如果该员工不存在,则告诉用户该员工不存在。
否则,请检查 ModelState。 如果 ModelState 无效,则返回一个视图。 这允许修复编辑并使 ModelState 有效。
将名称从输入视图模型复制到从数据库中检索到的员工并保存更改。 SaveChagnes() 方法将把所有这些更改刷新到数据库中。
以下是 HomeController 的完整实现。
using Microsoft.AspNet.Mvc;

using FirstAppDemo.ViewModels;
using FirstAppDemo.Services;
using FirstAppDemo.Entities;
using FirstAppDemo.Models;

using System.Collections.Generic;
using System.Linq;
using System.ComponentModel.DataAnnotations;

namespace FirstAppDemo.Controllers {
   public class HomeController : Controller {
      public ViewResult Index() {
         var model = new HomePageViewModel();
         using (var context = new FirstAppDemoDbContext()) {
            SQLEmployeeData sqlData = new SQLEmployeeData(context);
            model.Employees = sqlData.GetAll();
         }
         return View(model);
      }
      public IActionResult Details(int id) {
         var context = new FirstAppDemoDbContext();
         SQLEmployeeData sqlData = new SQLEmployeeData(context);
         var model = sqlData.Get(id)

         if (model == null) {
            return RedirectToAction("Index");
         }
         return View(model);
      }
      [HttpGet]
      public IActionResult Edit(int id) {
         var context = new FirstAppDemoDbContext();
         SQLEmployeeData sqlData = new SQLEmployeeData(context);
         var model = sqlData.Get(id);

         if (model == null) {
            return RedirectToAction("Index");
         }
         return View(model);
      }
      [HttpPost]
      public IActionResult Edit(int id, EmployeeEditViewModel input) {
         var context = new FirstAppDemoDbContext();
         SQLEmployeeData sqlData = new SQLEmployeeData(context);
         var employee = sqlData.Get(id);

         if (employee != null && ModelState.IsValid) {
            employee.Name = input.Name;
            context.SaveChanges();
            return RedirectToAction("Details", new { id = employee.Id });
         }
         return View(employee);
      }
   }
   public class SQLEmployeeData {
      private FirstAppDemoDbContext _context { get; set; }
      public SQLEmployeeData(FirstAppDemoDbContext context) {
         _context = context;
      }
      public void Add(Employee emp) {
         _context.Add(emp);
         _context.SaveChanges();
      }
      public Employee Get(int ID) {
         return _context.Employees.FirstOrDefault(e => e.Id == ID);
      }
      public IEnumerable<Employee> GetAll() {
         return _context.Employees.ToList<Employee>();
      }
   }
   public class HomePageViewModel {
      public IEnumerable<Employee> Employees { get; set; }
   }
   public class EmployeeEditViewModel {
      [Required, MaxLength(80)]
      public string Name { get; set; }
   }
}
让我们编译程序并运行应用程序。
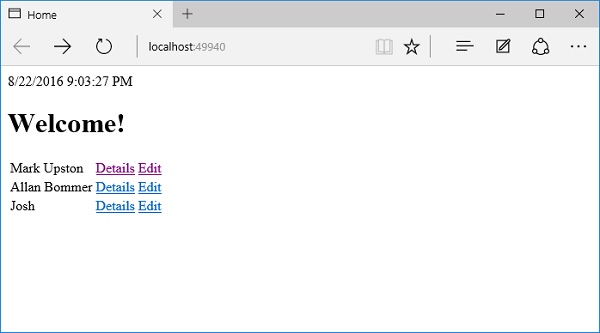
我们现在有一个可用的编辑链接; 让我们通过单击"Edit"编辑链接来编辑 Josh 的详细信息。

让我们将名称更改为 Josh Groban。
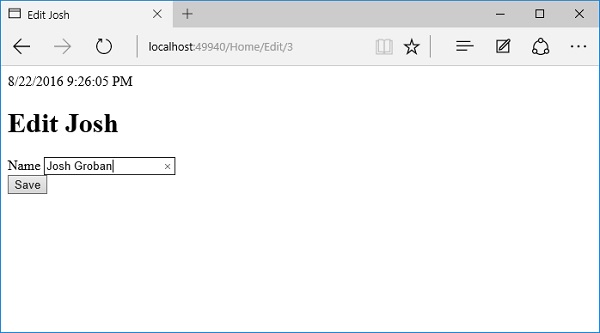
点击保存按钮。
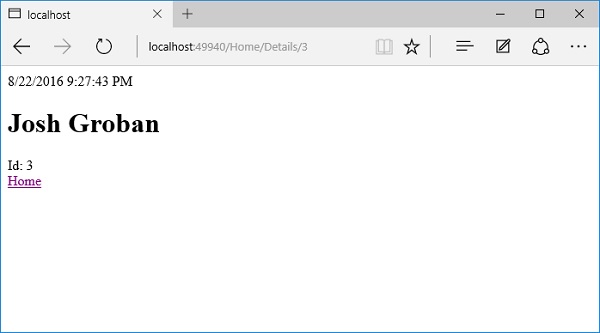
如上图所示,您可以看到名称已更改为 Josh Groban。 现在让我们单击主页链接。
在主页上,您现在将看到更新后的名称。